
Yesterday I was at the store buying canning jars (for drinking glasses, not canning food) and by the time I came home I decided that it was time to finally try canning something. I asked friends on facebook where a good place to start would be and my favourite comment was “make something you like.” So I did.
The three of us went to Mills Fleet Farm today and bought a great big canning pot and a few supplies, then to Costco to buy the strawberries (not quite the same as home grown or even the Farmer’s Market – but we’re on a budget and buying a mass quantity of berries). A side note, Fleet Farm is one of the most interesting stores I’ve ever been to. As someone who is not from the midwest, is afraid of hunting and has only successfully grown basil and 10 tomatoes, it is quite the experience! I also never thought about where to go if I needed to build a dock for my lake house, buy every kitchen gadget ever invented and pick up a rifle and a bag of m&m’s on the way out the door.
Anyway… back to the berries. We listened to a segment on NPR this morning about canning and preserving the season’s fruits. The conversation made canning sound romantic and inspiring so I thought I’d try Kevin West’s strawberry jam recipe. The segment isn’t long, I’d recommend you listen to it. You can find the audio link here.
As I share this recipe and my photos, keep in mind that this was my first time canning and I am no expert. If you’ve never done this before, I am only about 45 minutes worth of blog reading ahead of you in experience.

Strawberry Jam
Yields 2 pints
2 pounds ripe strawberries
2 1/2 cups sugar
1 tablespoon freshly squeezed lemon juice
Optional: a few scrapings of lemon zest
The original recipe says “To get started, go shopping at a farmers market or roadside farm stand if at all possible, and seek out the smallest, reddest berries. Fragrance is a good indicator of quality, but tasting is better still. The giant strawberries favored by supermarket produce managers are not a good choice. I call them “Pamela Anderson fruit,” artificially enhanced and tasteless.” I suppose Pamela Anderson fruit it is for us. Ha!
- Get all your canning supplies and canning instructions ready. I found the instructions on the blog Food in Jars to be very helpful. Briefly rinse the berries and remove their caps. Combine with the sugar, lemon juice, and zest in a large bowl, and crush with your hands.
- Turn the fruit-sugar mixture into a stainless steel saucepan, and bring to a boil over high heat, stirring regularly. Reduce at a full rolling boil, stirring all the while, to the gel point, 8 to 10 minutes, depending on the size of your pan and the strength of the heat source. This took much longer than 8-10 minutes for me, and I’m guessing it is because I had to use a smaller burner, even with high heat. The gel point was more like 20-25 minutes at a rolling boil. The Ball Blue Book has a good description of what the gel point is. (Hint: don’t buy this on Amazon. It’s pretty pricey. It was only $4 at Fleet Farm)
- Once a gel set has been achieved, skim the foam off, and ladle the hot jam into four prepared 1/2-pint jars, leaving 1/4 inch head space. I didn’t have enough 1/2 pint jars available, so I used a few 4oz jars too. Seal, and process in a boiling-water bath for 10 minutes.

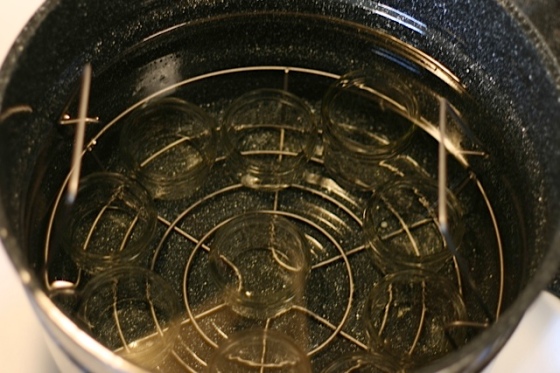
Sterilizing the jars in our large canning pot


A little helper wandered into the kitchen after his nap

The strawberry, sugar and lemon juice bubbling away on the stove 
Our kitchen was VERY hot. I should have picked a non 90-something degree day to do this.

Filling the jars with jam

 And back into the giant pot they go for 10 minutes

I thought the jam was delicious, but the real taste test was giving it to Will
 I think he approved!
